Dictation Modes
Voibe gives you three ways to dictate: Push-to-Talk for quick, controlled bursts, Hands-Free for longer, uninterrupted dictation, and Live Dictation to watch your words appear on screen as you speak, and edit them before they land. Every mode works in on-device mode (transcription stays on your Mac) or zero-retention cloud mode, and types the text directly into whatever app you're using.

All three dictation modes are configured from Voibe's Settings screen.
Push-to-Talk Mode
How it works
- 1. Hold your configured hotkey (default: Fn).
- 2. Speak while continuing to hold the key. Voibe listens the entire time the key is pressed.
- 3. Release the key. Voibe transcribes your speech and types the text into your active editor or text field.
Supported hotkeys
Push-to-Talk uses a single key as the trigger. We recommend using one of the modifier keys so it doesn't interfere with your normal typing:
Left & right key distinction
Voibe recognizes left-side and right-side modifier keys separately. For example, you can assign Right ⌥ Option as your dictation hotkey and keep Left ⌥ Option free for its regular use in other apps and keyboard shortcuts. This way, your dictation trigger never conflicts with your existing workflow.
Changing the hotkey
Click "Change" next to Push-to-Talk Mode in the Voibe main screen, then press the key you want to use. Voibe will ask you to confirm the change.
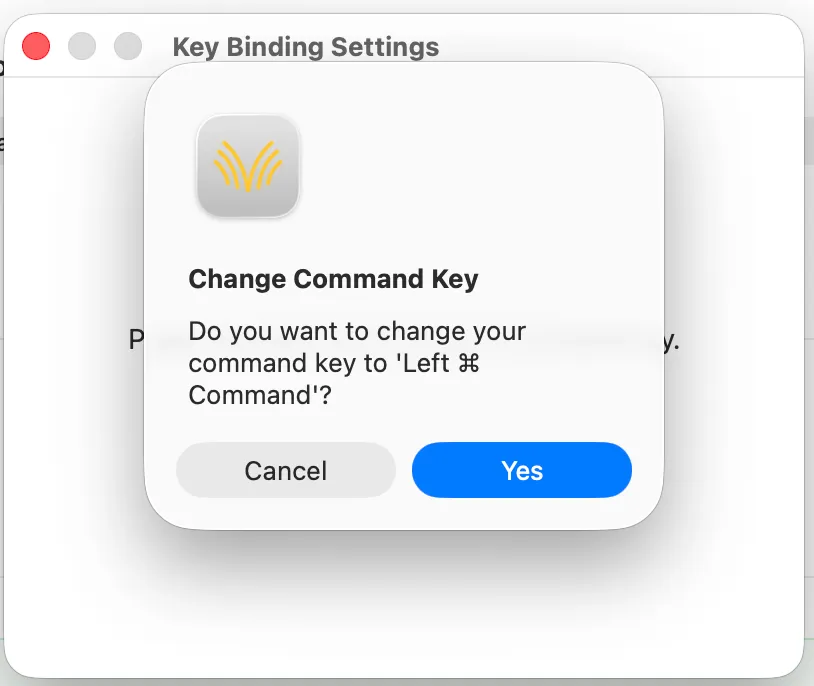
Voibe confirms your hotkey selection, showing the exact key (including left or right side).
Hands-Free Mode
How it works
- 1. Press your configured hotkey to start — then let go. You don't need to hold anything.
- 2. Speak freely for as long as you need. Voibe keeps listening in the background.
- 3. Press the hotkey again to stop. Voibe transcribes everything and types it into your active editor.
The key difference from Push-to-Talk: you don't hold the key while speaking. This makes Hands-Free ideal for longer dictation — writing emails, drafting documents, or narrating thoughts without keeping your hand on the keyboard.
Trigger options
Hands-Free mode supports two types of hotkey triggers:
Option A: Double-tap a key
Quickly tap any key twice to start listening, then double-tap it again to stop. The default is double-tap Fn.
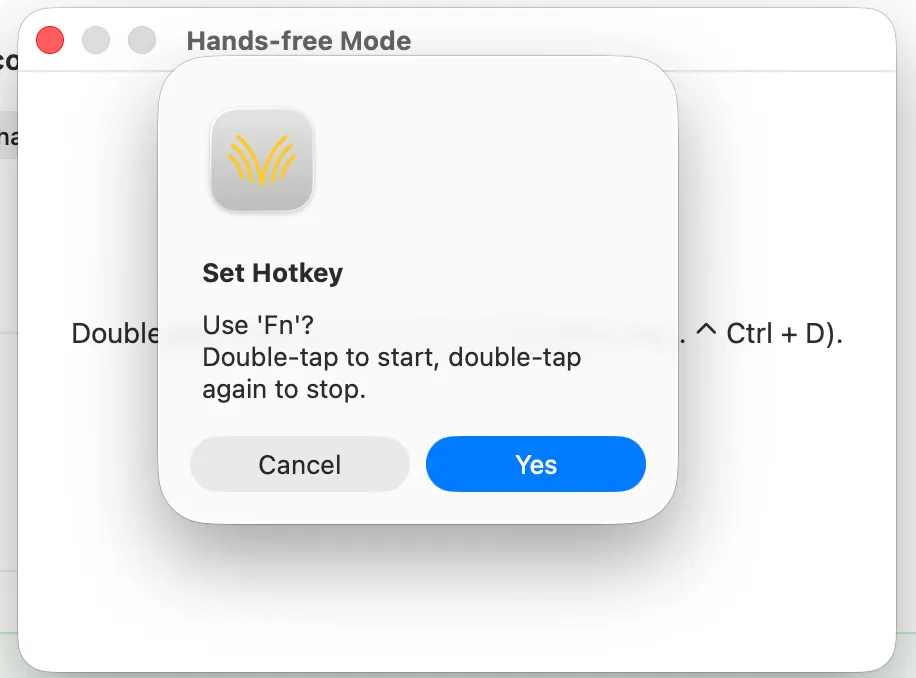
Setting double-tap Fn as the Hands-Free trigger.
Option B: Key combination
Use a modifier + letter combination like ⌘ + H, Ctrl + D, or Shift + G. Press the combination once to start and again to stop.
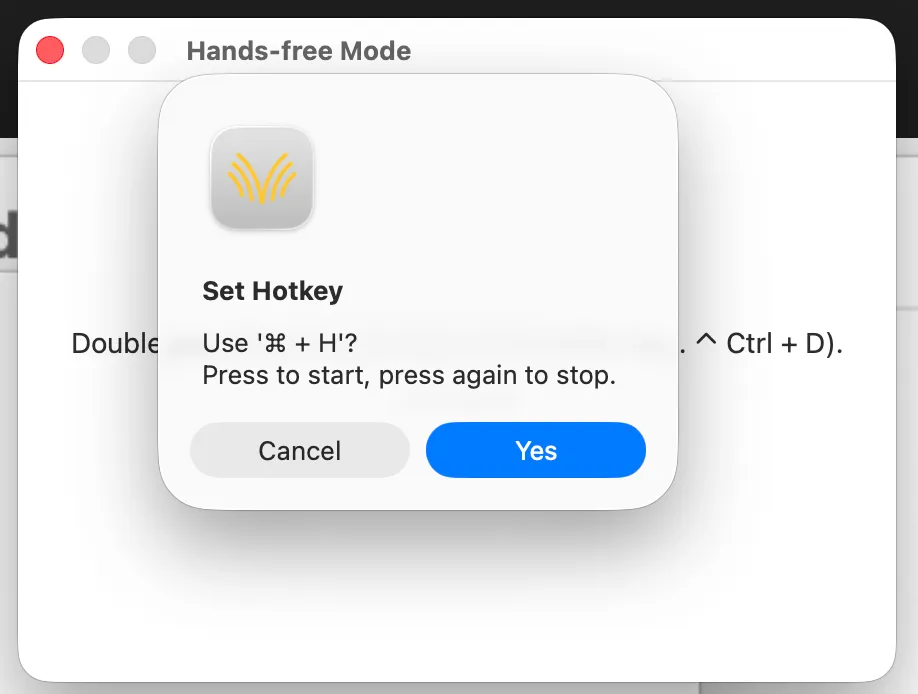
Setting ⌘ + H as the Hands-Free trigger.
Live Dictation Mode
How it works
- 1. Press your configured hotkey to start, then let go. Like Hands-Free, there's nothing to hold down.
- 2. Speak, and watch your words appear on screen in real time as you talk. The text builds as you go, with no waiting for it all to arrive at the end.
- 3. Press the hotkey again to end. Voibe finalizes the text in your active editor or text field.
The difference from Hands-Free: you see the text as you speak, not only once you finish, so you can catch a misheard word or change direction mid-sentence.
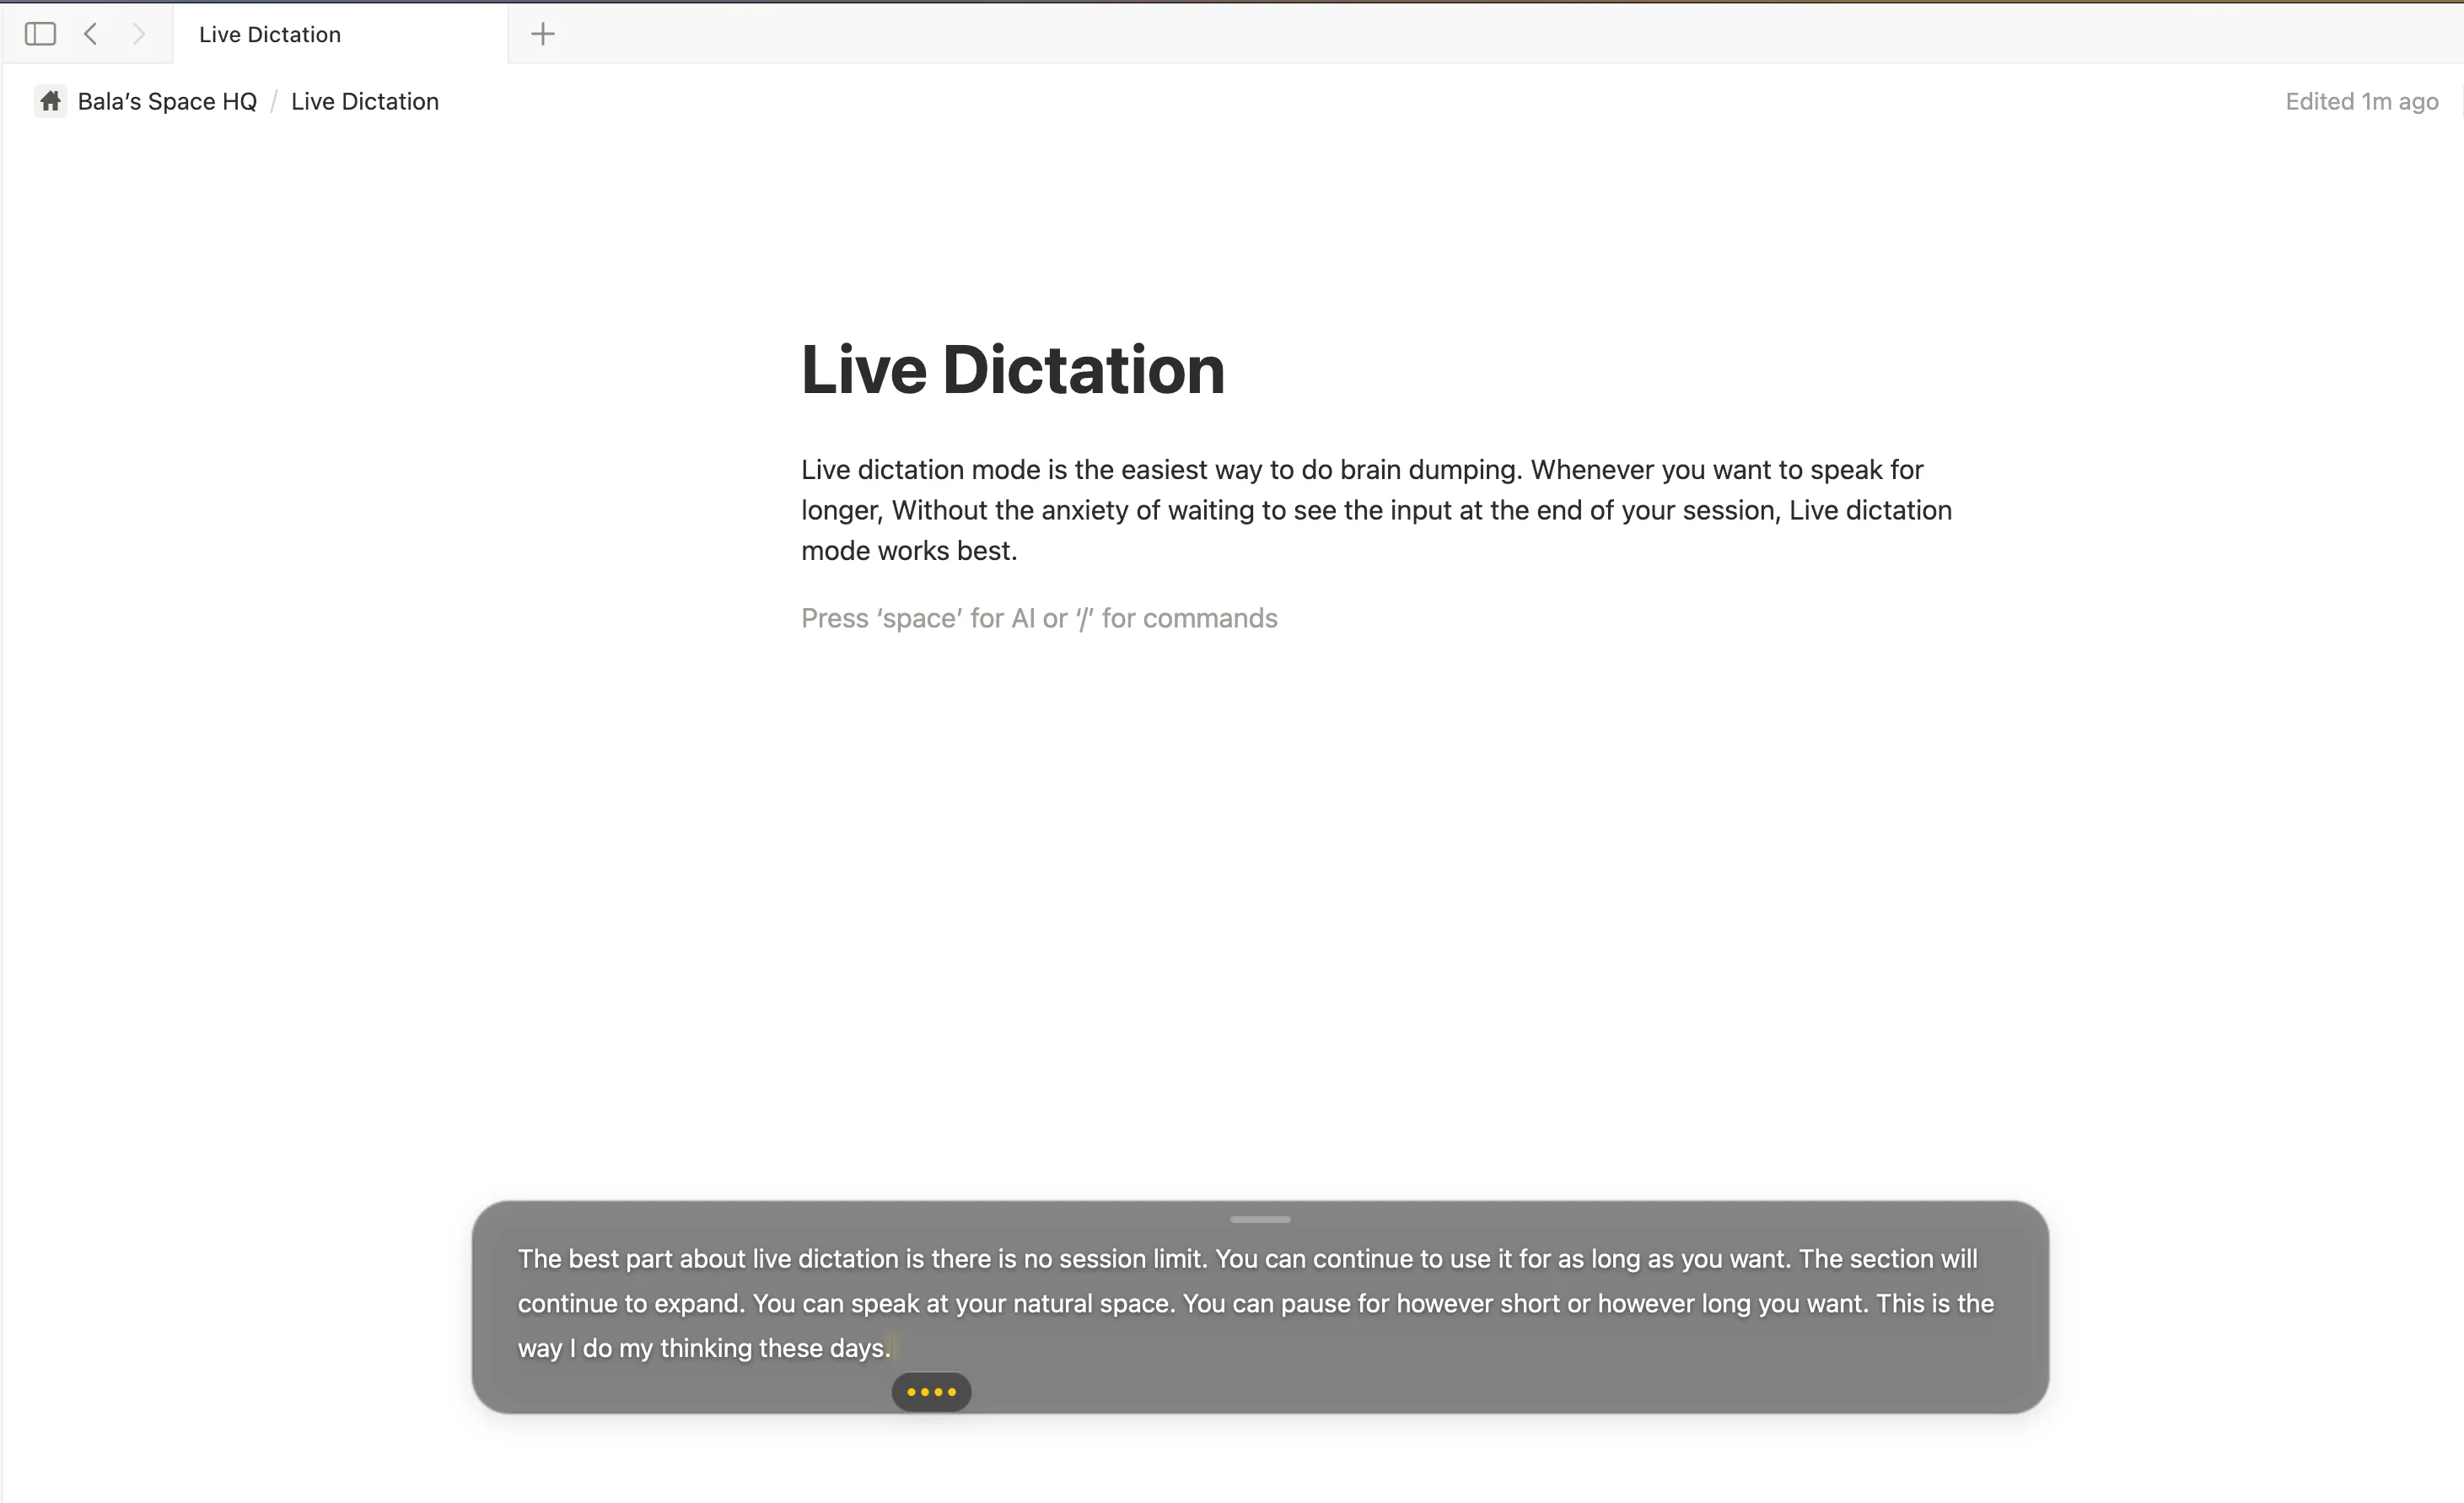
Your words appear live in a floating overlay as you speak, before landing in whatever app you're using.
What you can do
- Edit while you speak. The overlay is a real text box, not a preview. Fix a word, delete a line, or reword without stopping, and your edits stay in the final text.
- Type anywhere in the draft. New words appear at your cursor. Click into an earlier line to drop a sentence into the middle of a paragraph.
- No session limit. Speak for as long as you want. Voibe keeps listening until you end the session.
- Pause as long as you like. The session stays open while you think; pauses never end it.
- The draft grows and scrolls. It expands as you speak and scrolls once you pass what fits.
- Move and resize the editor. Drag the draft window anywhere and size it to your work.
What it's good for
- Braindumping into an AI assistant. Talk through a long, messy thought, clean it up in the draft, then drop the finished text into ChatGPT, Claude, or Cursor.
- Long emails and documents. Watch the text build and fix mistakes as they appear, not after.
- Capturing a long thought before you lose it. Get it down with no cutoff, then tidy it after.
Finishing and canceling
- Press your hotkey again to finish. The draft, with your edits, is typed into your app.
- Press Esc to cancel. The session ends and the draft is discarded, with nothing typed into your app. A clean way to scrap a false start and begin again.
- Press Return for a new line. It adds a line break in the draft and does not end the session.
Trigger
Live Dictation is the one mode without a hotkey set out of the box, so assign one before you start. Push-to-Talk and Hands-Free both ship with a working default; Live Dictation stays off until you pick a key for it.
Like Hands-Free, Live Dictation is triggered by double-tapping a key or using a key combination: press once to start and again to end. In the example above it's set to ⌃ Control + ⇧ Shift. Choose a trigger that doesn't clash with shortcuts in the apps you use most.
Changing the hotkey
Click "Change" next to Live Dictation in Voibe's Settings, then double-tap a key or press the key combination you want to use. Voibe will ask you to confirm the change. (The key-change dialog labels this mode Live Dictation.)
Which mode should I use?
| Push-to-Talk | Hands-Free | Live Dictation | |
|---|---|---|---|
| Activation | Hold a key | Press once to start, press again to stop | Press once to start, press again to end |
| While speaking | Key must stay held down | Completely hands-free | Completely hands-free |
| Text appears | After you release the key | After you stop speaking | Live, as you speak |
| Hotkey type | Single key (e.g. Fn, Right Option) | Double-tap or key combination | Double-tap or key combination |
| Best for | Quick, short dictation bursts | Longer dictation without holding keys | Long dictation you can watch and edit as you go |
Tips
- Use the modes together. Reach for Push-to-Talk for quick corrections, Hands-Free for longer writing, and Live Dictation when you want to watch the text land. You can set a different hotkey for each.
- Pick a side. Assign a right-side modifier key (like Right Option) for dictation so your left hand stays free for regular shortcuts.
- Try double-tap Fn first. The default Hands-Free trigger is intuitive and unlikely to clash with other shortcuts.
- Avoid common shortcuts. When picking a key combination for Hands-Free, make sure it doesn't overlap with shortcuts in your most-used apps.