Microphone & Accessibility Permissions
Voibe needs two macOS permissions to do its job: microphone (to hear you) and accessibility (to detect your hotkey and insert text). These are the minimum an on-device dictation app needs.
This page explains exactly what each permission does, what Voibe cannot do with them, and how to grant or revoke them.
On this page
Microphone permission
What Voibe uses it for
To capture audio while you're actively dictating. Voibe only opens the microphone input stream when you press the hotkey, and closes it as soon as you release.
What we promise
- ✓ Audio is only captured while the hotkey is pressed. Voibe does not listen in the background.
- ✓ Audio is processed locally on your Mac and discarded the moment transcription finishes.
- ✓ No audio is uploaded to any server — ever. Voibe's dictation pipeline is entirely on-device.
How to grant
macOS prompts you automatically the first time Voibe tries to record. Click Allow.
If you missed the prompt, open System Settings → Privacy & Security → Microphone and toggle Voibe on.
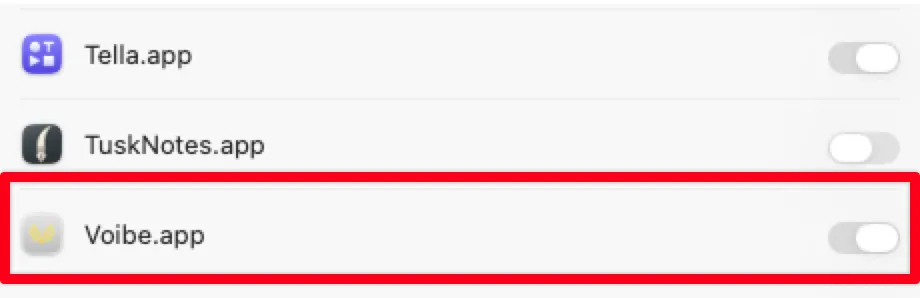
Toggle Voibe on to let it hear you while you dictate.
Accessibility permission
What Voibe uses it for
Two things — both necessary for a global dictation hotkey to work.
- Detecting the hotkey. macOS only lets an app see keystrokes from every other app if it has accessibility. Without this, Voibe couldn't know you pressed the hotkey while you're in Cursor, Gmail, or anywhere else.
- Pasting the transcribed text. Once Voibe has your transcript, it needs to insert it into the text field you're focused on. That also requires accessibility.
What we promise
- ✓ Voibe only listens for the specific hotkey you've configured. It does not log, store, or transmit any other keystrokes.
- ✓ The text insertion happens locally — your transcript goes directly from Voibe to your active text field, nowhere else.
- ✓ Voibe does not read the contents of other apps, does not observe what you type, and does not take screenshots.
How to grant
macOS does not auto-prompt for accessibility. You have to grant it manually:
- 1. Open System Settings.
- 2. Go to Privacy & Security → Accessibility.
- 3. Toggle Voibe on.
- 4. If Voibe isn't in the list, click the + button and add it from your Applications folder.
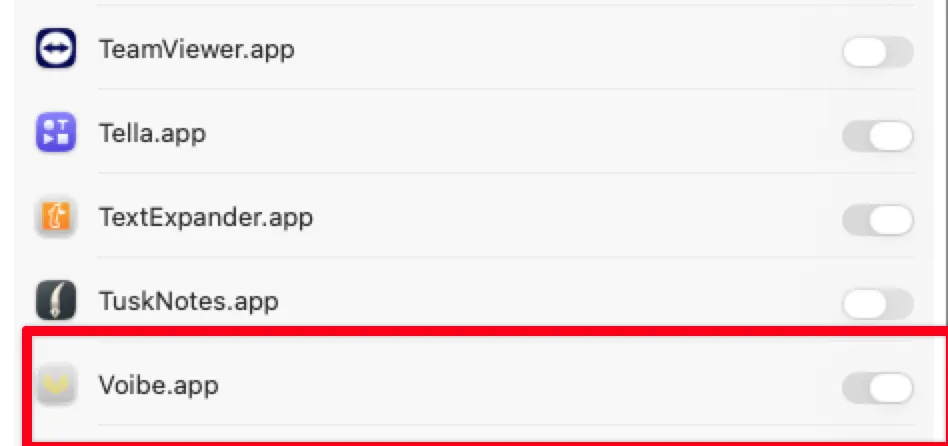
Toggle Voibe on so it can detect your hotkey and insert transcribed text.
What Voibe cannot do
Microphone and accessibility together sound like a lot of access. In practice, they're narrow to what dictation requires. Here's what Voibe does not do, and cannot do:
- Record audio in the background. The mic is only open while you're holding the hotkey.
- Log or transmit your keystrokes. Accessibility lets Voibe see whether the hotkey is down — not what you're typing.
- Send audio or transcripts to a server. Dictation runs entirely on your Mac's Neural Engine.
- Access files, camera, screen, or clipboard beyond what's needed. Voibe hasn't asked for those permissions because it doesn't use them.
- Read the contents of other apps. Voibe writes text into the focused field. It doesn't read what's already there.
Granting or revoking permissions
Both permissions can be toggled off any time in System Settings. You're always in control.
| Permission | Where to manage |
|---|---|
| Microphone | System Settings → Privacy & Security → Microphone |
| Accessibility | System Settings → Privacy & Security → Accessibility |
If you revoke a permission, Voibe will stop working until you re-enable it — dictation can't happen without both.
100% on-device dictation
Voibe's transcription runs entirely on your Mac's Neural Engine. Your audio never leaves your device. Read more on our security page.
Still stuck? Email hi@getvoibe.com and we'll help you out.