First-Time Setup
Five short steps from nothing to dictating your first sentence. The whole thing takes about two minutes, mostly because macOS will interrupt you with permission dialogs.
Before you start, confirm you're on an Apple Silicon Mac running macOS 13 or later.
Steps
Install Voibe
- a. Download the Voibe DMG from our site.
- b. Open the DMG and drag Voibe into your Applications folder.
- c. Open Applications and double-click Voibe to launch it.
- d. If macOS asks whether you're sure you want to open an app from the internet, click Open.
Grant microphone permission
Voibe needs microphone access to hear what you're saying. macOS will prompt you the first time Voibe tries to record — click Allow.
If you missed the prompt:
- a. Open System Settings.
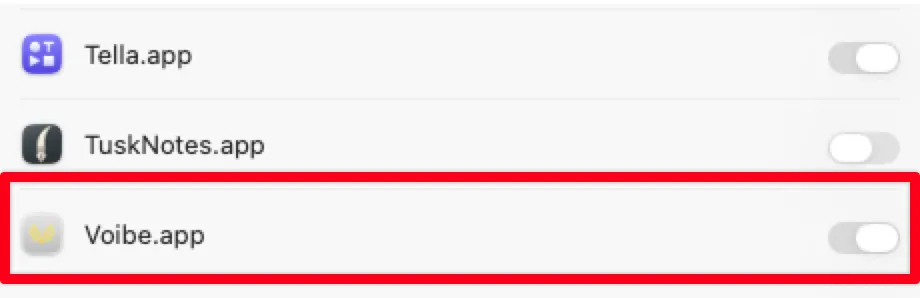
- b. Go to Privacy & Security → Microphone.
- c. Toggle Voibe on.
Voibe only uses the microphone while you're actively dictating. It doesn't listen or record when the hotkey isn't pressed. More on what Voibe can and can't do with this permission.
Grant accessibility permission
Accessibility is what lets Voibe (a) detect when you press the hotkey anywhere on your system, and (b) paste the transcribed text into whichever app you're using.
To enable:
- a. Open System Settings.
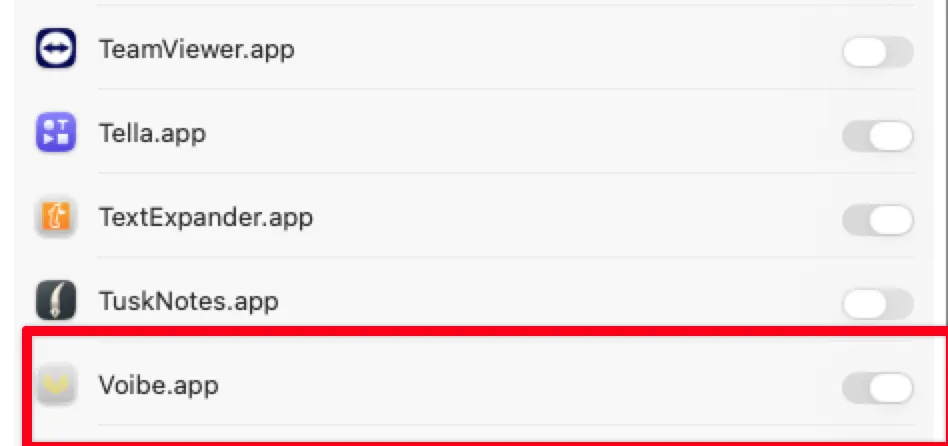
- b. Go to Privacy & Security → Accessibility.
- c. Toggle Voibe on. If Voibe isn't in the list yet, click the + button and add it from your Applications folder.
Voibe will not receive system-wide keyboard input beyond detecting the specific hotkey you assign. It doesn't log what you type. More on accessibility.
Pick your hotkey
Voibe ships with sensible defaults, but the hotkey is the single most important setting — you'll press it thousands of times. Pick something you can reach easily and that doesn't clash with other apps.
Default
Fn — hold to dictate, release to insert text.
Good alternatives
Voibe recognizes left and right modifier keys separately, so you can dedicate the right-hand one to dictation and keep the left free for normal shortcuts.
Change your hotkey from the Voibe main screen — click Change next to the mode you want to configure, then press the key. Full guide to dictation modes and hotkeys.
Test your first dictation
The moment of truth.
- a. Open any app with a text field — Notes, Mail, a browser search bar, anything.
- b. Click into the text field so the cursor is blinking.
- c. Hold your hotkey.
- d. Say something — for example, "Hello, this is my first Voibe dictation."
- e. Release the key.
- f. The text appears in the field — capitalised, punctuated, ready.
If nothing happened
- Hotkey not firing? Open System Settings → Privacy & Security → Accessibility and confirm Voibe is toggled on.
- Voibe thought you said nothing? Check microphone permission is granted, and confirm the right input device is selected from the Voibe menu bar icon → Microphone.
- Transcription is wrong? Speak at a natural pace into the built-in Mac microphone — AirPods and Bluetooth headsets usually give worse results.
You're set up — what next?
Still stuck? Email hi@getvoibe.com and we'll help you out.